


Hello there, pals. Hello and thank you for visiting my blog. We're going to build a theme toggle today.
Explanation
Today we'll look at the most basic technique to add a theme toggle to your website. We'll make a list of everything we need to remember before getting down to business. The inclusion of the toggle on a website is a design bonus . It allows the user to select which one they want to use.
We require good knowledge of
- HTML
- CSS
- and a little JavaScript.
- We will be using Font Awesome 5 icons on the project, so I will be including the CDN link to my index.html file.
  <!-- Font Awesome cdn link  -->
  <link rel="stylesheet" href="https://cdnjs.cloudflare.com/ajax/libs/font-awesome/5.15.3/css/all.min.css"
    integrity="sha512-iBBXm8fW90+nuLcSKlbmrPcLa0OT92xO1BIsZ+ywDWZCvqsWgccV3gFoRBv0z+8dLJgyAHIhR35VZc2oM/gI1w=="
    crossorigin="anonymous" />
HTML Structure
The structure of your HTML file is determined by the type of project you are working on. We'll keep it simple in this article, so our structure won't be too complex.
The Font Awesome cdn link is on the header element, and the header has a link to our Custom CSS file.
In the body element, there is a parent container with the class .main-div and two buttons with the class .theme-button. This will be used to change the theme of the webpage.
<!DOCTYPE html>
<html lang="en">
<head>
<meta name="viewport" content="width=device-width, initial-scale=1.0">
<title>Theme Toggler</title>
<!-- Font Awesome cdn link -->
<link rel="stylesheet" href="https://cdnjs.cloudflare.com/ajax/libs/font-awesome/5.15.3/css/all.min.css"
integrity="sha512-iBBXm8fW90+nuLcSKlbmrPcLa0OT92xO1BIsZ+ywDWZCvqsWgccV3gFoRBv0z+8dLJgyAHIhR35VZc2oM/gI1w=="
crossorigin="anonymous" />
<!-- Custom Style -->
<link rel="stylesheet" href="style.css">
</head>
<body>
<div class="main-div">
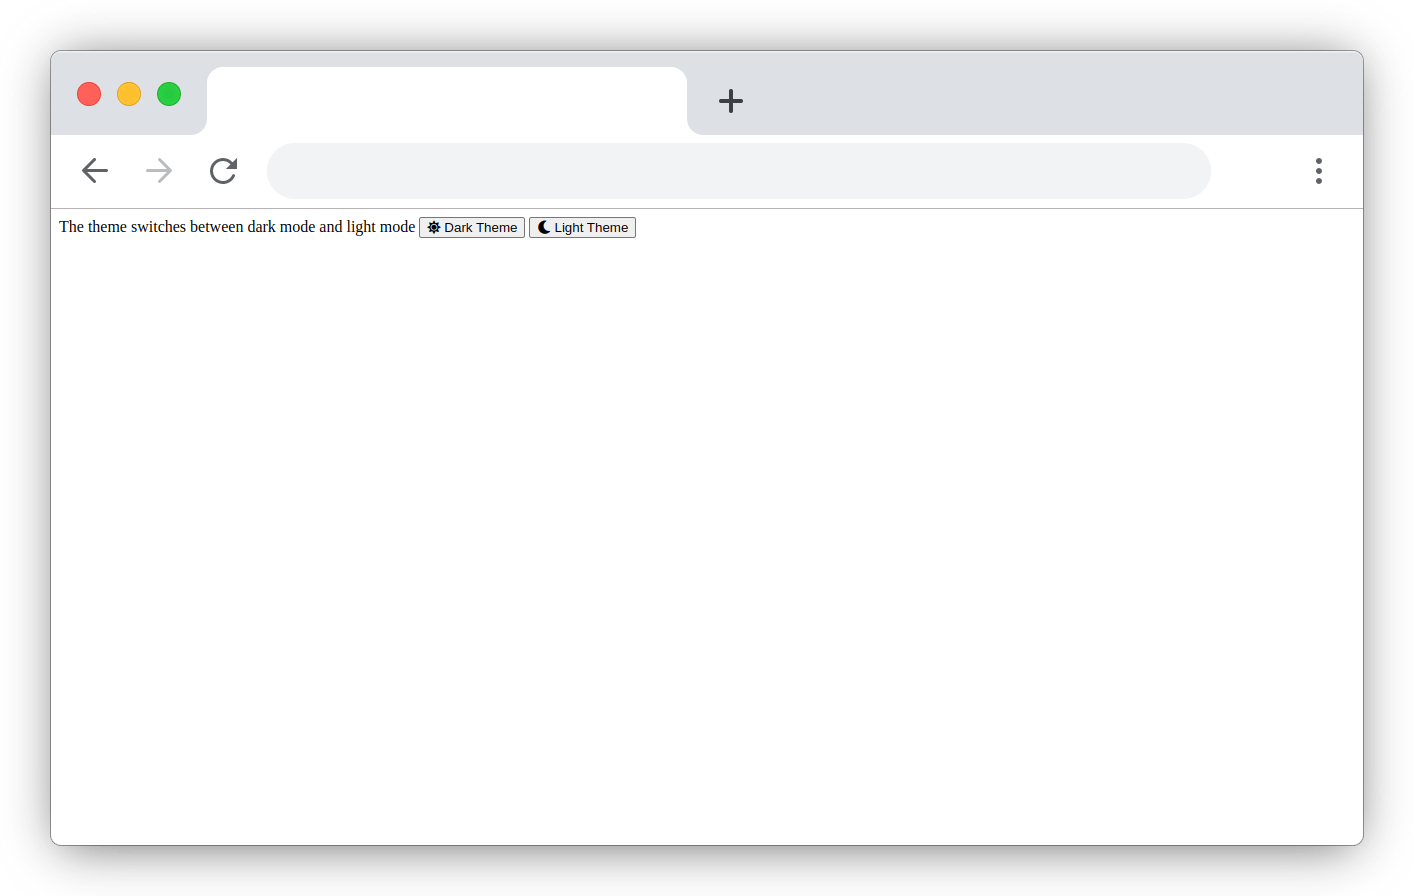
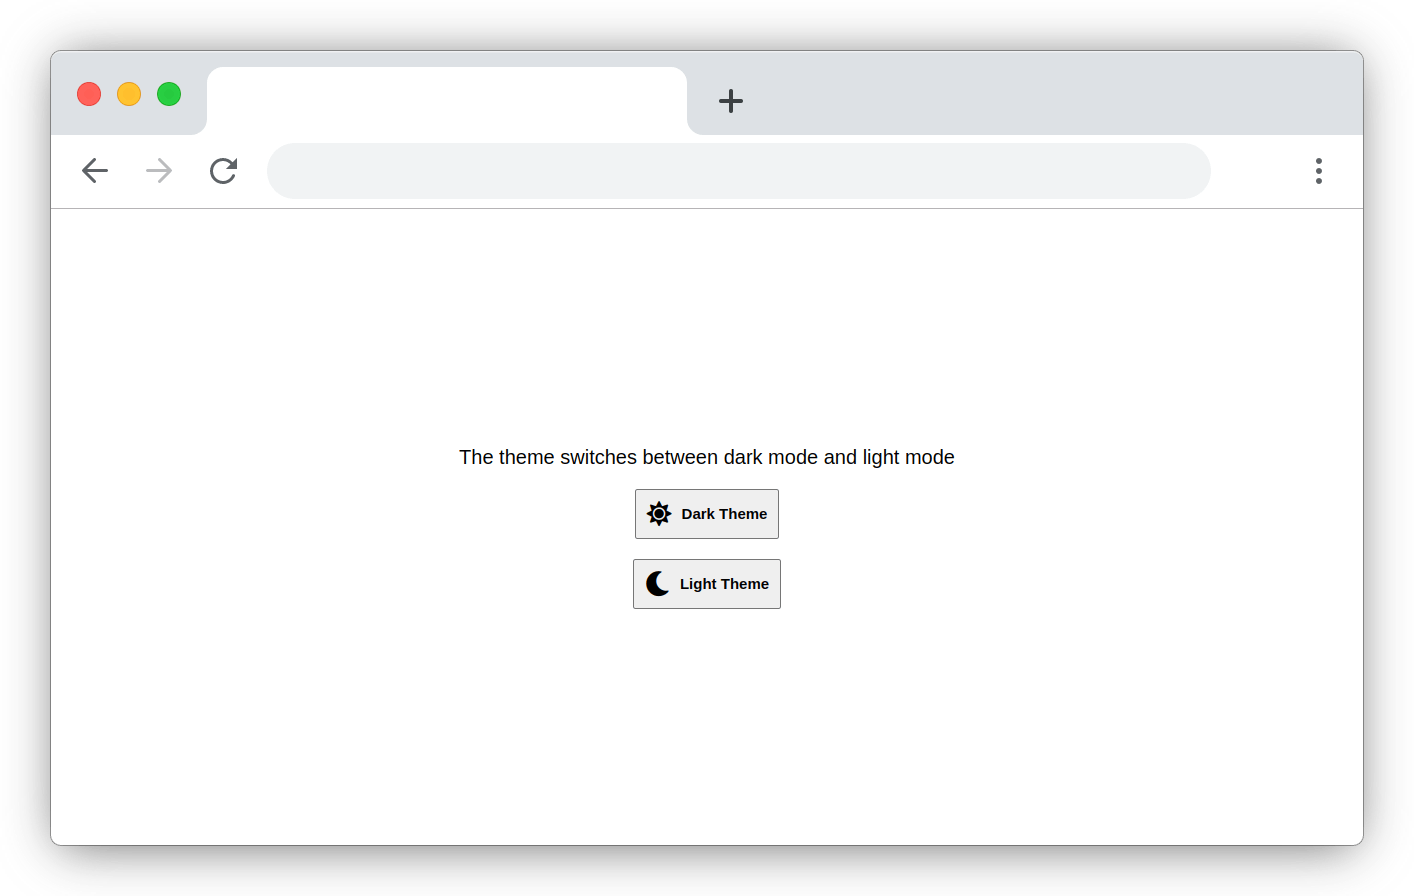
The theme switches between dark mode and light mode
<button class="theme-button"><i class="fas fa-sun"></i> Dark Theme </button>
<button class="theme-button"><i class="fas fa-moon"></i> Light Theme </button>
</div>
</body>
</html>
CSS Style
Because we're dealing with two separate contexts, each light theme color must have a dark theme variant, and the colors must be established according to your duties, with colors for text, background colors, and so on. For this project, we'll use CSS variables because they provide us complete control over all styling while keeping our CSS style short and straightforward.
css variables
Custom properties (sometimes referred to as CSS variables or cascading variables) are entities defined by CSS authors that contain specific values to be reused throughout a document. They are set using custom property notation (e.g., --main-color: black;) and are accessed using the var() function (e.g., color: var(--main-color);). Read more.
Note: Custom property names are case-sensitive : --my-color will be treated as a separate custom property to --My-color.
Let Create our own CSS variables
When changing the theme, keep in mind that the background and text colors will be modified. They'll go in the css variable, and the CSS attribute selector will be used to style the correct theme.
Note: This is the initial line of css style; all further css codes will be written below it.
.main-div[theme="light"] {
  --background-color: #fff;
  --text-color: #000;
  --shadow-color: 1px 1px 5px rgba(0, 0, 0, 0.5);
}
.main-div[theme="dark"] {
  --background-color: #000;
  --text-color: #fff;
  --shadow-color: 1px 1px 5px rgba(255, 255, 255, 0.5);
}
We won't have to define colors directly to the “background-color” or “color” properties instead, we'll use the variables created. Variables can be used in css inserting the name of the variable in side a var() function.
Note: that the --background-color variable which had its value: #fff, was changed to #000 in the context of the dark theme, keeping that in mind, you just need to repeat the same process for all other colors of your code.
Let's get our project styled Our project is given basic styling by using css “flexbox” to center the contents of the page.
/* remove extra spaces */
body {
  margin: 0;
  padding: 0;
  box-sizing: border-box;
}

/* style the main container element */
.main-div {
  background-color: var(--background-color);
  color: var(--text-color);
  width: 100%;
  height: 100vh;
  display: flex;
  flex-direction: column;
  justify-content: center;
  align-items: center;
  font-size: 20px;
  font-family: sans-serif;
}
/* style the theme toggle button element */
.main-div .theme-button {
  height: 50px;
  padding: 10px;
  margin-top: 20px;
  display: flex;
  align-items: center;
  justify-content: center;
  font-size: 15px;
  font-weight: 900;
}
/* style the theme toggle button element icon */
.main-div .theme-button i {
  font-size: 25px;
  margin-right: 10px;
}
JavaScript
This is where we write the JavaScript code to change the theme. This easy procedure will be followed for this project and all others using this method. We need too:
- get the DOM element
- render the button one by one depending on the current theme
- on click of the button, the theme attribute of the main parent element changes
  // Get Html Element from DOM
  const mainDiv = document.querySelector('.main-div')
  const themeLight = document.querySelector('#theme-light')
  const themeDark = document.querySelector('#theme-dark')

  // hide the light
  themeLight.style.display = 'none'


  // add event listener to dark theme button
  themeDark.addEventListener('click', () => {
    // change main-div theme attribute to dark
    mainDiv.setAttribute('theme', 'dark')
    // show light them button
    themeLight.style.display = 'block'
    // hide dark them button
    themeDark.style.display = 'none'
  })

  // add event listener to light theme button
  themeLight.addEventListener('click', () => {
    // change main-div theme attribute to light
    mainDiv.setAttribute('theme', 'light')
    // show dark them button
    themeDark.style.display = 'block'
    // hide light them button
    themeLight.style.display = 'none'
  })
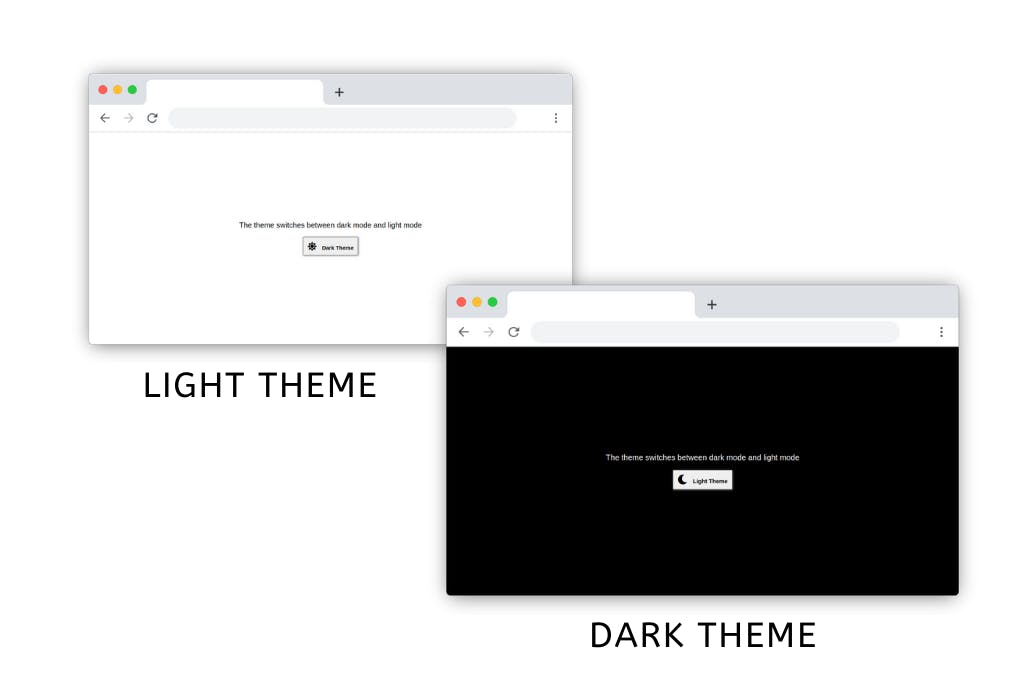
All we're doing here is updating the theme attribute on the “.main-div” element, and the rest is handled by css variables.
When the theme attribute changes from light to dark the values for our variables changes because .main-div[theme="light"] becomes false, .main-div[theme="dark"] becomes true when the theme variable is set to dark.
Store current theme
At this point, we have successfully toggled the theme. When the page reloads, the theme returns to its default light mode. We can add the ability of the webpage to remember the previously selected theme and apply it on the page when the page loads. To accomplish this, we must employ a localStorage API.
localStorage API
The localStorage read-only property of the window interface allows you to access a Storage object for the Document's origin; the stored data is saved across browser sessions. Read more.
For a better user experience, we will use local Storage which will store the user's current theme, that way when the user comes back to the website, their favourite theme will be applied automatically.
// storing the theme on the user's machine
localStorage.setItem('theme', 'dark');

//accessed the user's machine theme
localStorage.getItem('theme');
// dark
Let apply this to our code.
This can be placed in a function and the function will be called before another script runs, so it will update the webpage theme and render the correct button to the user.
I will be placing the code above my previous code and I will not be using a function for this, just to keep my sample simple.
  //accessed the user's machine theme
  const theme = localStorage.getItem('theme');

// hide a button base on the current theme saved
  if (theme === 'light') {
    // hide the light button
    themeLight.style.display = 'none'
  } else {
    // hide the dark button
    themeDark.style.display = 'none'
  }
  // change main-div theme attribute to the saved theme
  mainDiv.setAttribute('theme', theme)
To update the theme in the localStorage we placed a single line of code on our event handlers
Save the dark mode
   // storing the theme on the user's machine
    localStorage.setItem('theme', 'dark');
Save the light mode
   // storing the theme on the user's machine
    localStorage.setItem('theme', 'light');
Congratulations
It has been a long learning process, and I hope you understand the above-mentioned subject.
Give feedback
If you enjoyed and learned something new from this article, follow me for More web simplified topics, and do well to give me feedback by using the reaction emojis. Let me know how you feel about the explanation in the comment section. Give feedback, corrections, and recommendations.
Much 🥰
Let us connect
I would like to connect with any and every reader
Let us connect
victorjosiah19@Twitter
josiah-victor@LinkedIn