

Netlify continuous deployment
Set up Netlify continuous deployment in 8 simple steps.


Hello there, friends, and welcome to my blog. Today, we'll go over each stage of deploying a static site or single-page app.
Introduction
When I first started developing websites, I always wanted to host them myself so that I could share the links with friends and co-designers for feedback and corrections. I tried a few different methods, but I couldn't locate a free hosting service that would provide exactly what I needed. Until I stumbled onto Netlify.
Let's get started learning about Netlify and seeing how simple it is to host our static webpages.
Explanation
Netlify is a web hosting and automation platform that accelerates development productivity. By unifying the modern decoupled web elements from local development processes with advanced logic, Netlify is offering an amazingly faster way to ensure much more performant, scalable, and secure websites and applications.
Note
We'll go over how to set up your existing GitHub repo on Netlify for continuous deployment in this article (that means all you have to do is push your code and Netlify will do the rest of your publishing tasks for you). You can always drag and drop your static files if you haven't yet found the incredible power of version control with GitHub.

Getting started on Netlify
In this section, we will show you how easy it is to launch your site on Netlify. If you are not already a Netlify user, go ahead and sign up for free here first.
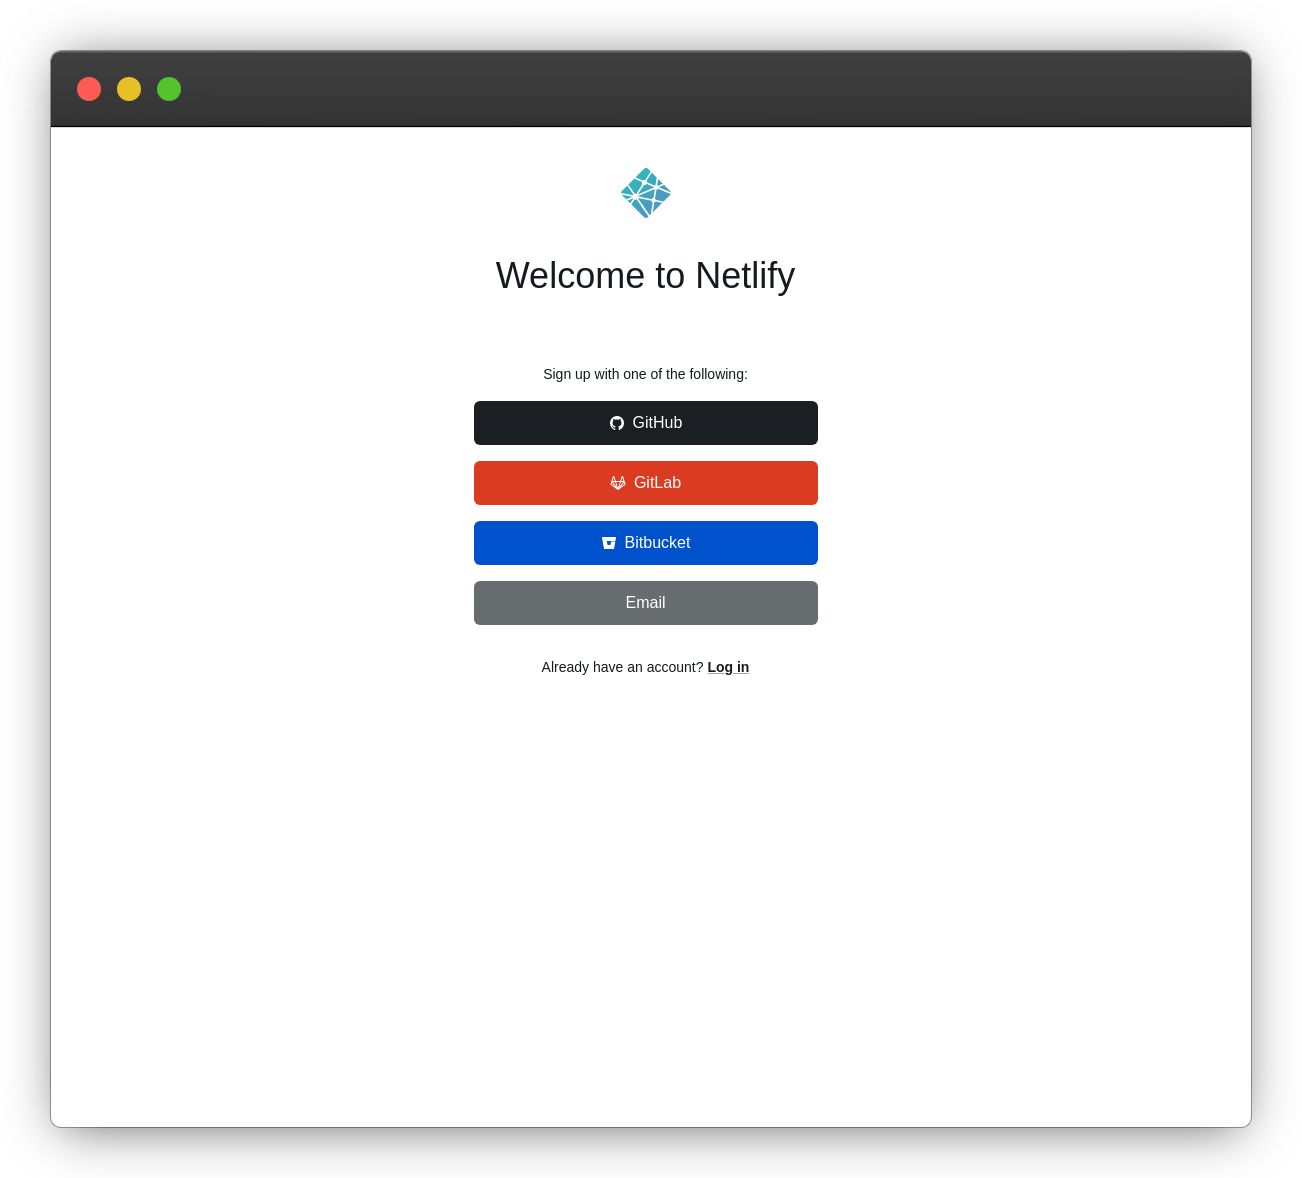
Step 1: Sign up with Netlify
The first step to using Netlify's hosting service is to create an account with the company.
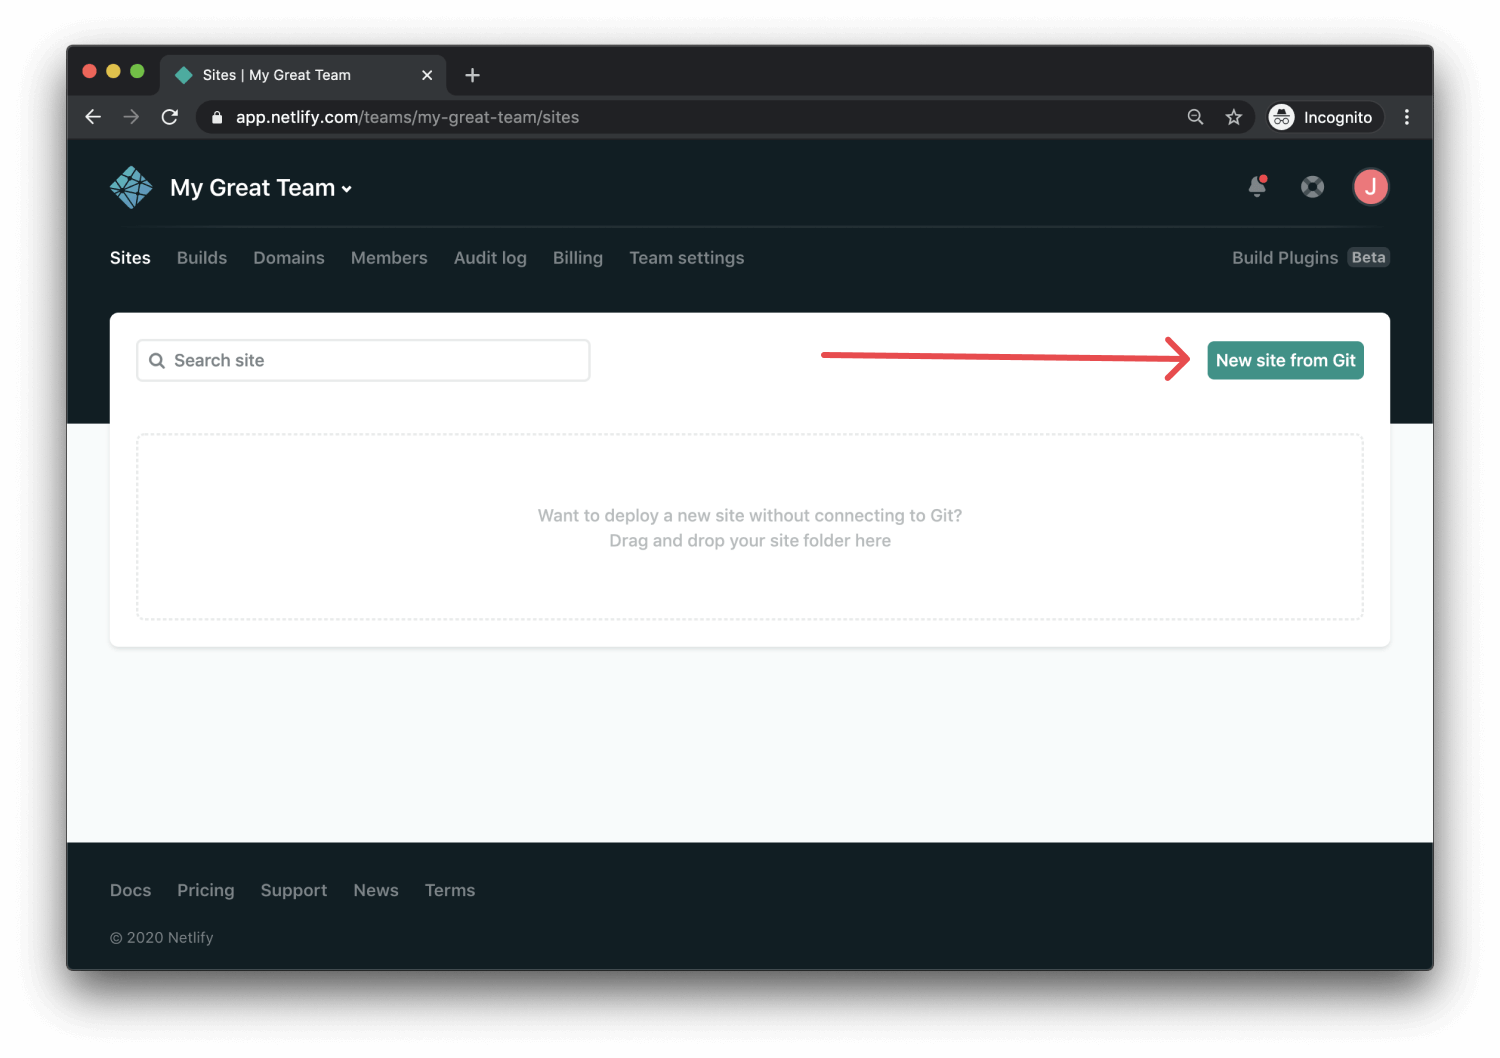
Step 2: Add your new site
Netlify makes it easy to start a new website. You'll be routed to app.netlify.com once you've logged in. If you're just getting started, the "Add A New Project" button (seen above) is your only option.
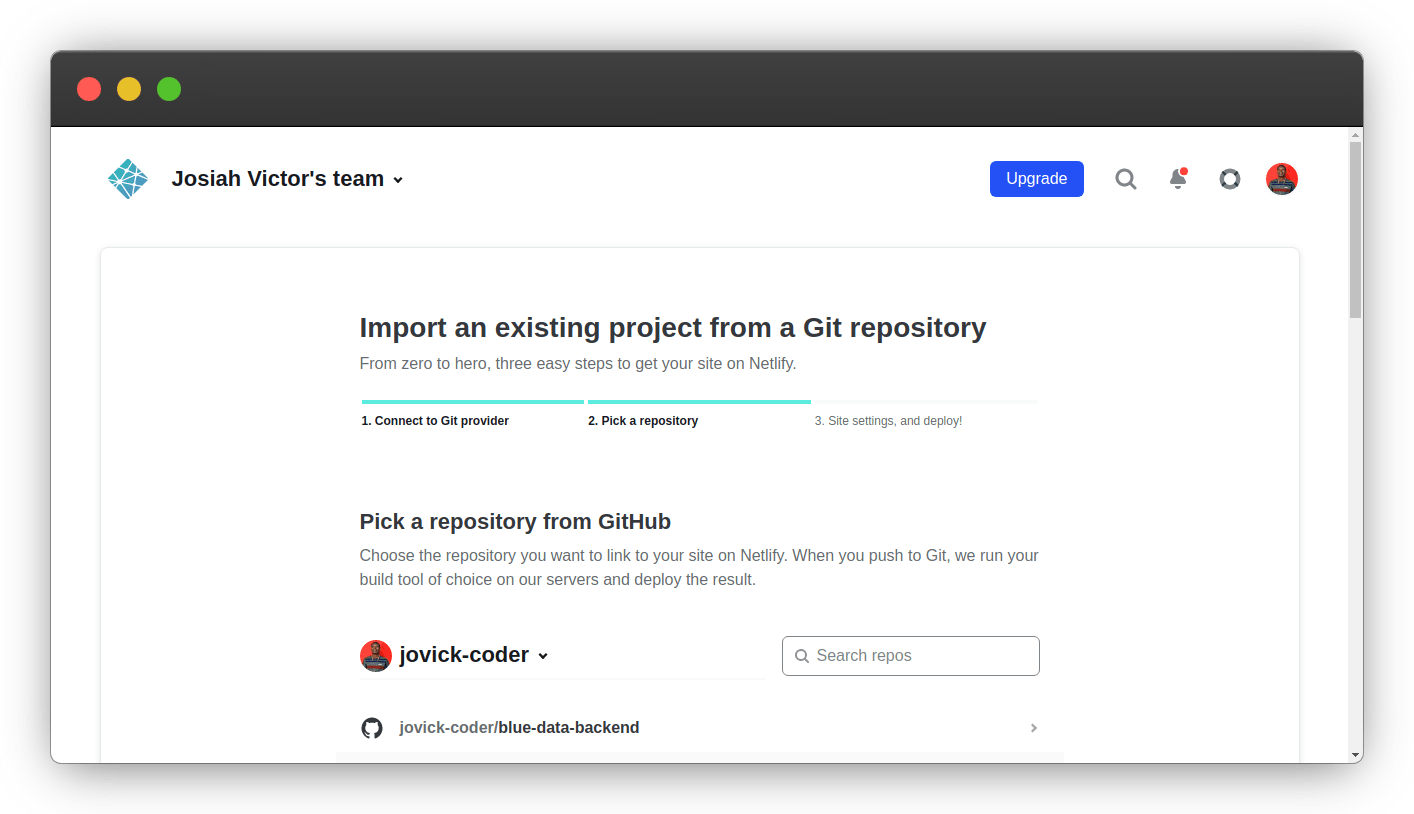
Step 3: Import an existing project from a Git repository
Clicking "Add A New Project" provides you with three options.
- Import an existing project from a Git repository
- Starting from a template
- Deploy manually
We will be importing an existing project from a Git repository.
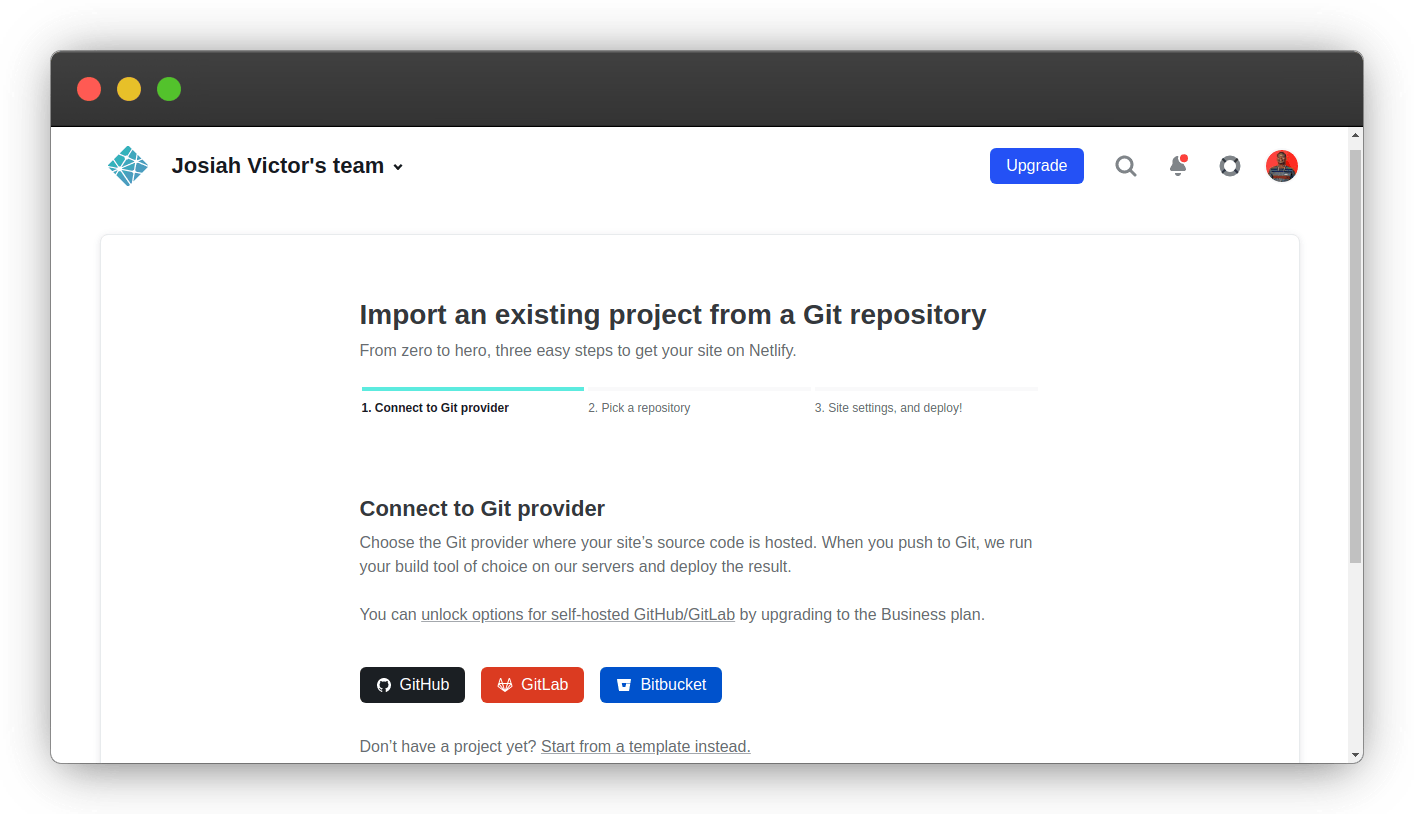
For this article, we'll use GitHub, but any of the other version control systems listed are fine and follow the same steps.
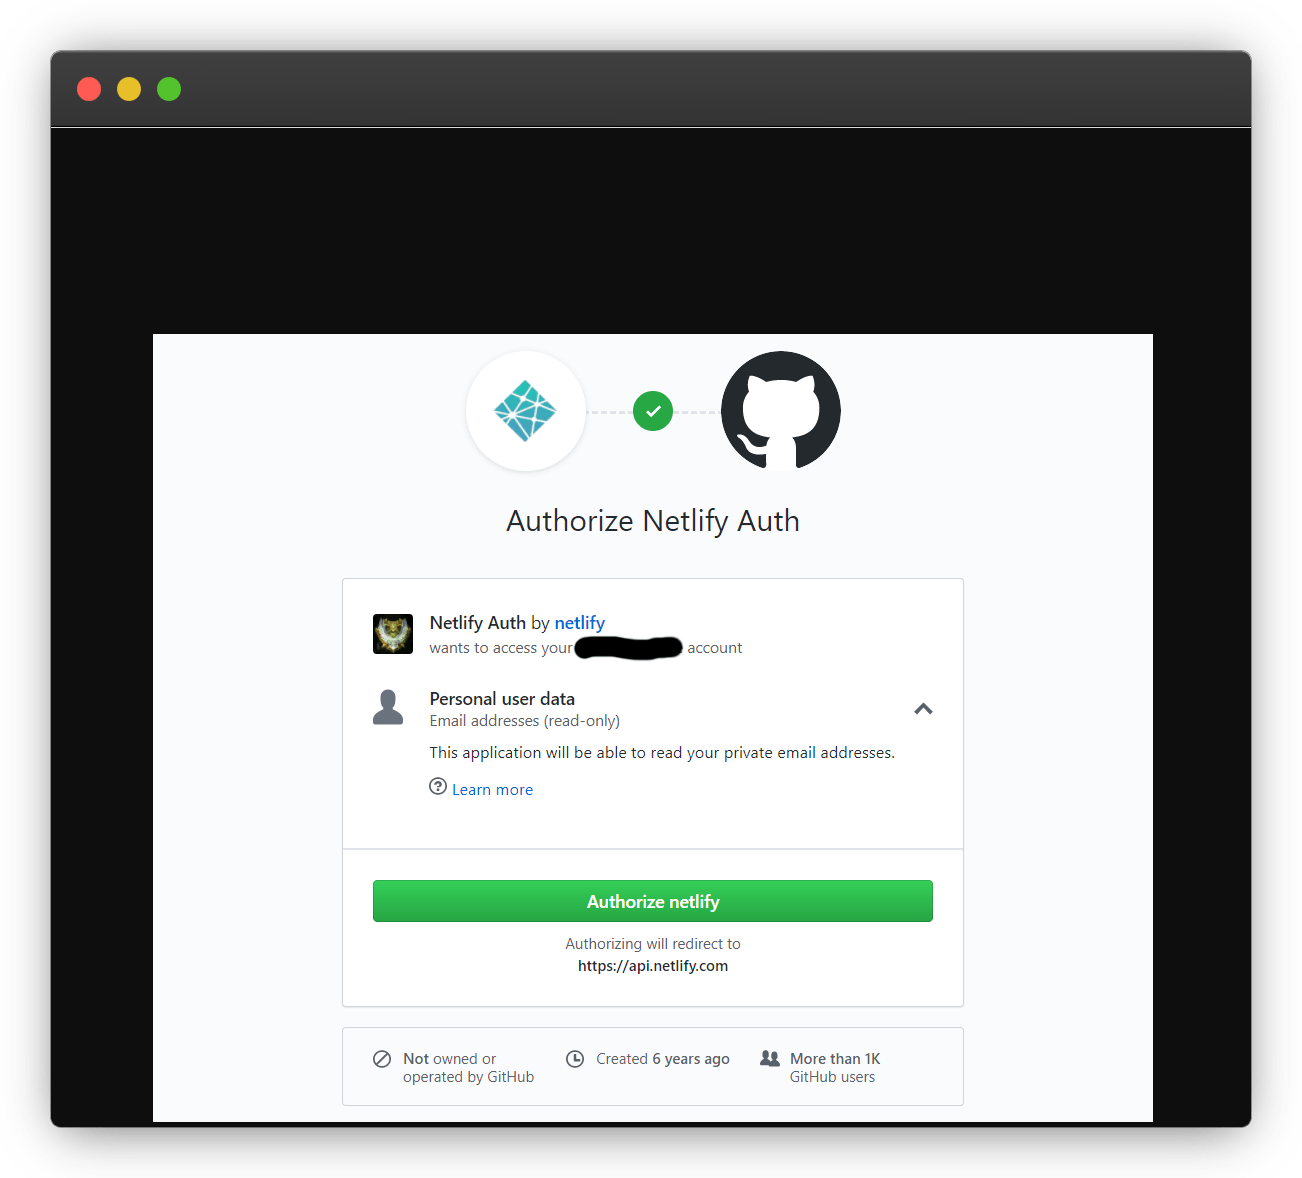
Step 4: Link your GitHub account
If this is your first time, you'll need to give Netlify permission to read and write to your git repositories. This will allow Netlify to see all of your repositories on GitHub.
Step 5: Select your repositories
Now that you've connected Netlify and GitHub, you can see a list of your Git repositories. Select your static site or single-page app.
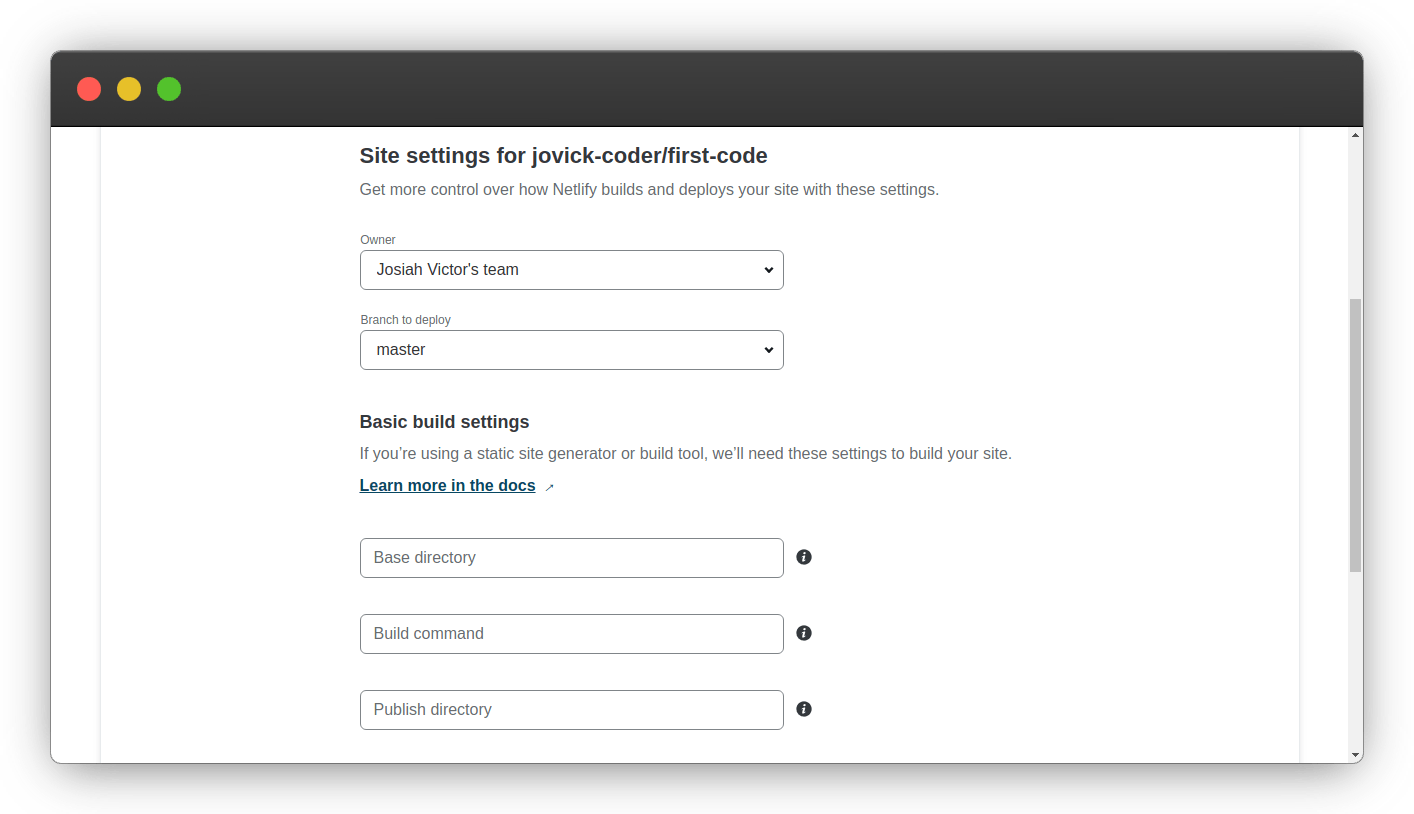
Step 6: Configure your Settings
Here you can configure your options (if necessary). For example, if we were using the Victor Hugo boilerplate when building our static site, we would need to set our build directory to dist/ and our build command to npm run build. If your site is not using any preprocessors or compiling software, then just set the directory to / and leave the build command blank.
When you are satisfied with your configurations, click the Build your site button to continue.
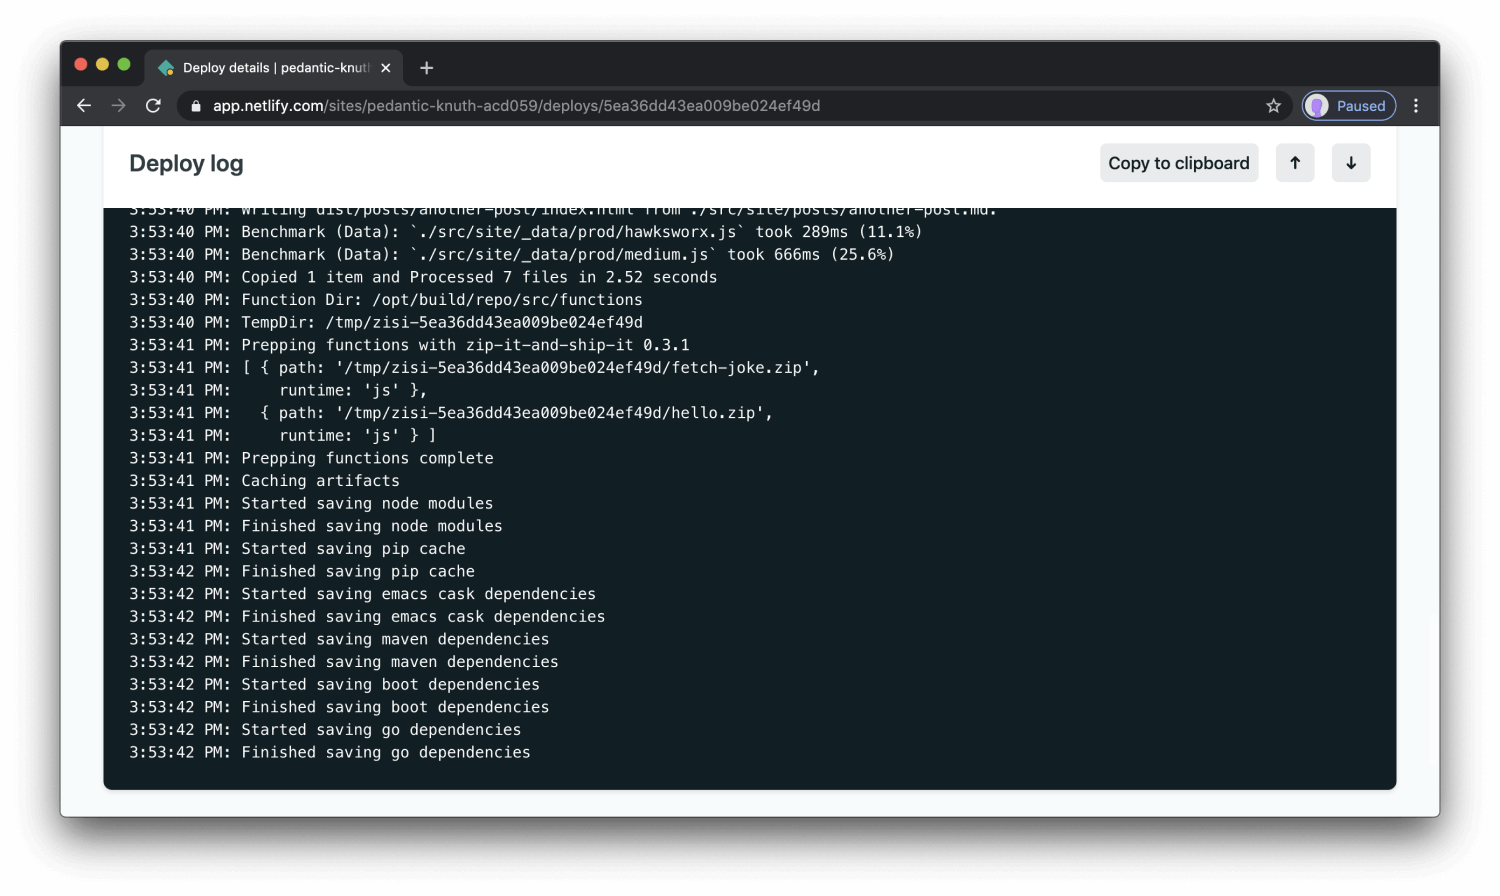
Step 7: Build your Site
Now it's time to sit back and relax. You did your part, let Netlify take care of the rest — it'll only take a minute.
Step 8: All done
Netlify went ahead and gave your site a temporary name. Let's quickly update that to make it look a little prettier.
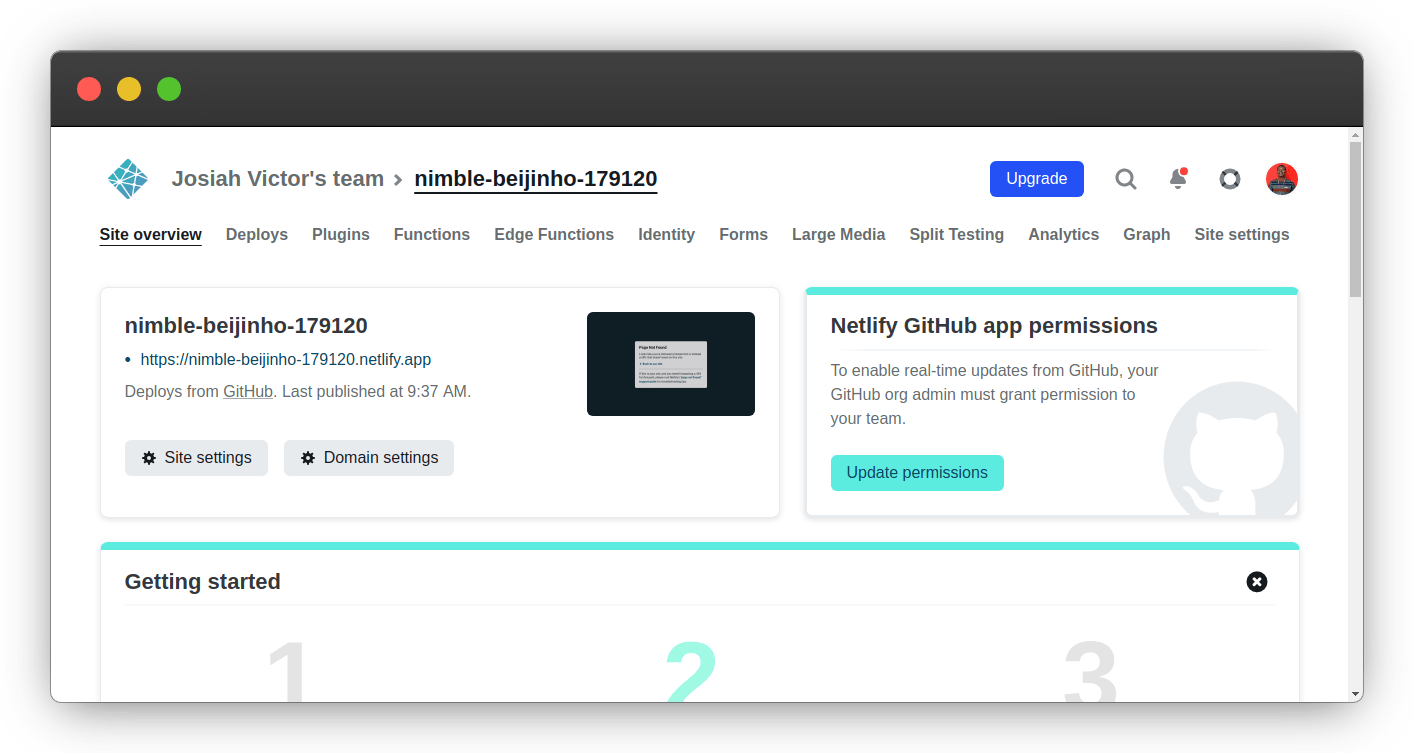
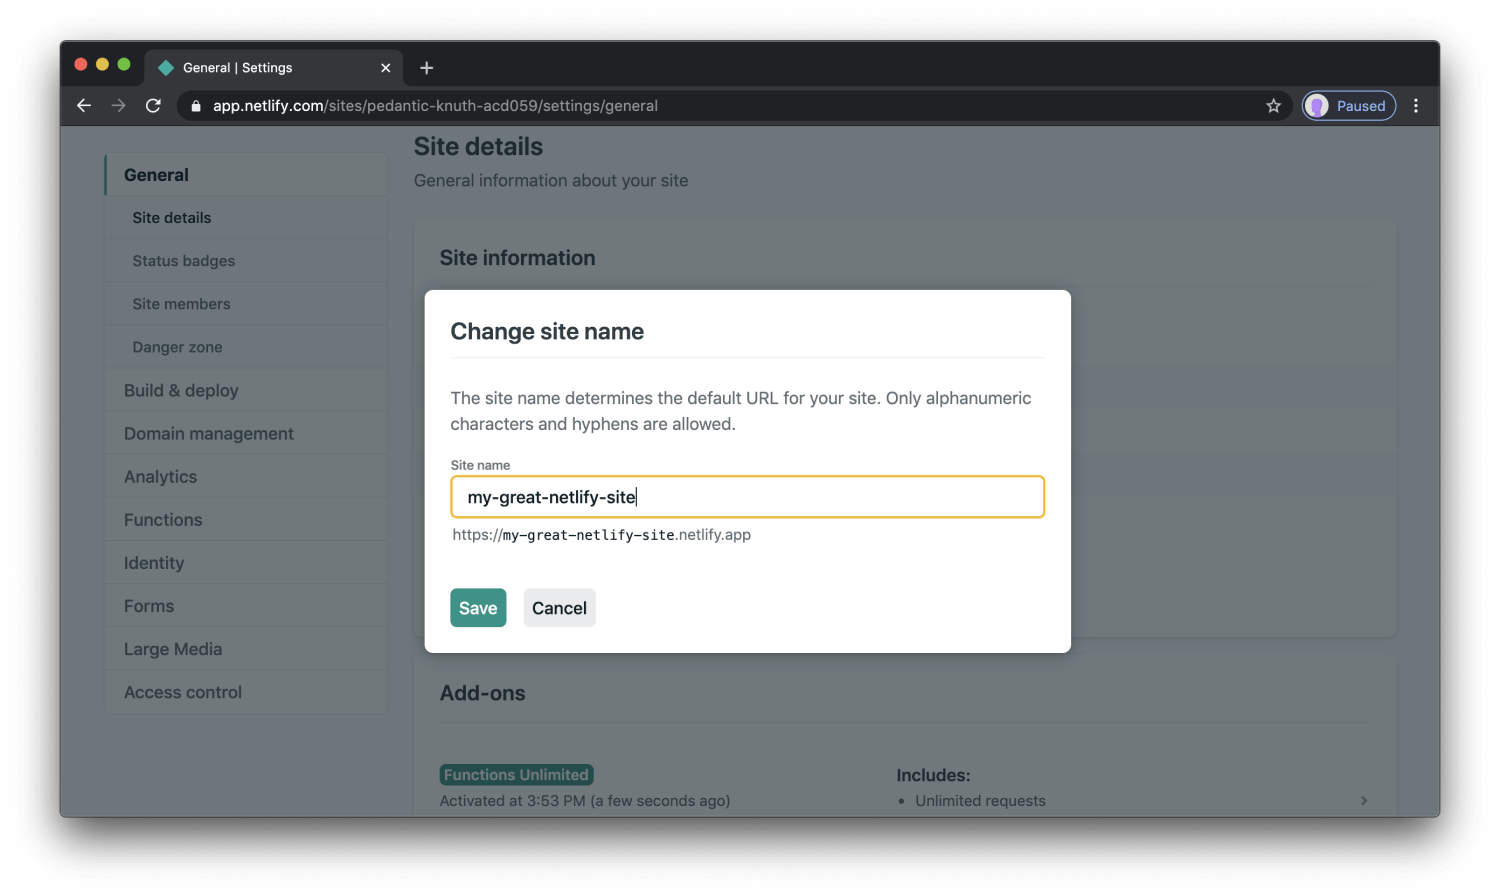
Step 9: Rename site
Renaming your site will only take 2 clicks. Let's do that.
- click on domain settings.
- select "edit site name" from the option dropdown
- enter your preferred site name
- click on save.
By default, your site is always accessible via a Netlify subdomain based on the site name. .netlify.app
You can learn more about custom domains here
BOOM! You now have your site hosted on Netlify with blazing fast speeds, powerful CDNs, simple management, and ironclad security. Wasn't that easy?
Reverse deployment
The deployment can be reversed to a working production if there is a break on the current production. You can keep the site up and running while you solve the code error.
- navigate to deploy
You will see all previse deployment on this production with their GitHub commit massages,
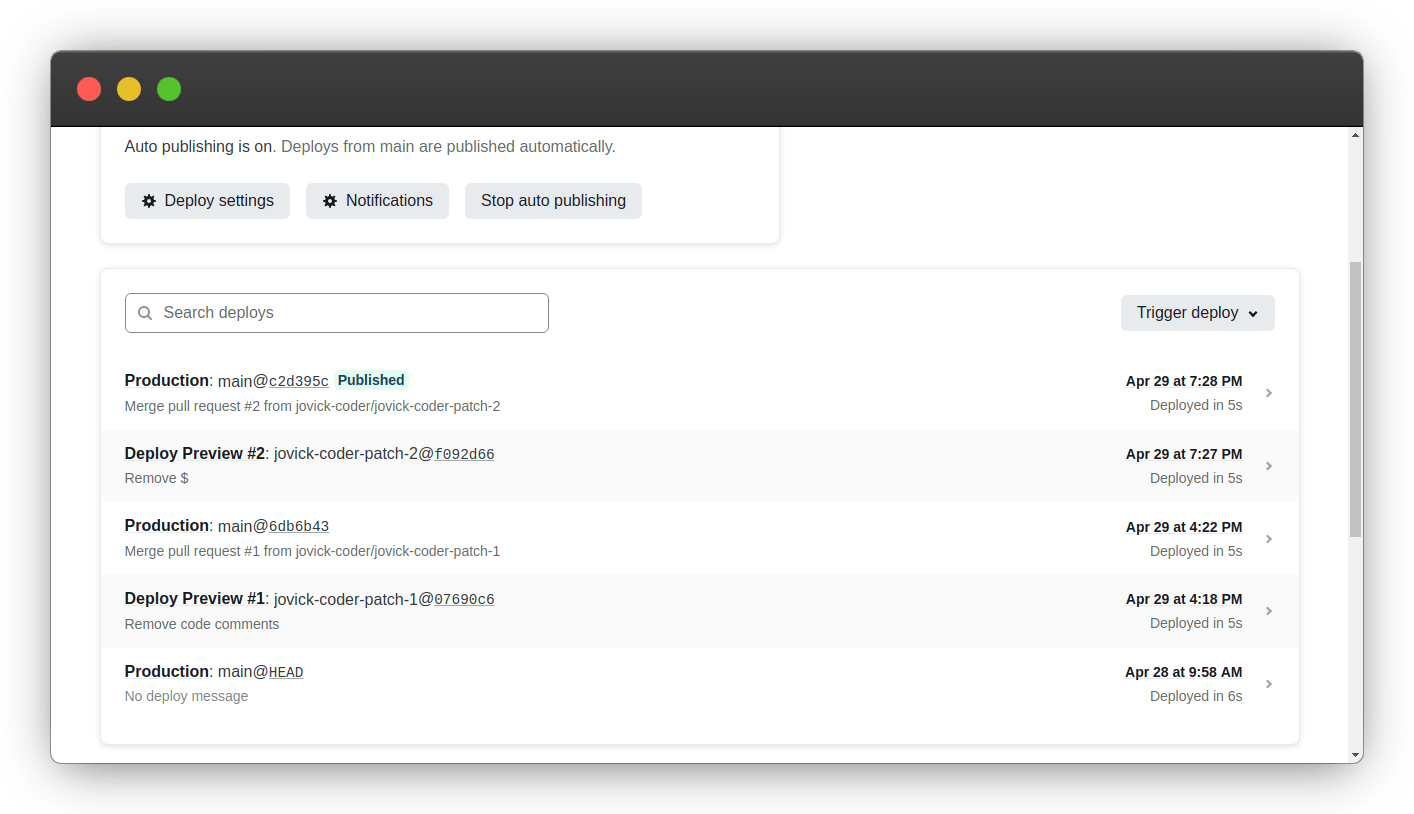
- click on the deployment you want to reverse to,

- publish deploy
You may now click on publish deploy to revert the deployment to the selected deployment, which will save you a lot of time and effort trying to fix the problem before the website users discover it.
Conclusion
We can host our static website on Netlify using these simple procedures. This is a GitHub-linked continuous deployment, which implies that the site will be immediately updated if the repository branch to which it is tied is modified. Make sure that any branch modifications don't break the site.
Congratulations

Give feedback
If you liked this article and learnt anything new, please follow me for more web-simplified subjects and give me feedback using the reaction emojis and comments. Let me know what you think about the explanation. Please provide suggestions, corrections, and criticism.
Let us connect
I would like to connect with any and every reader.
Let us connect
victorjosiah19@Twitter
josiah-victor@LinkedIn